Creating a comfortable, welcoming home can be quick and it can be easy. It doesn’t have to be expensive or time consuming. Positioning a homemade mug rug here-and-there is one way to achieve this.
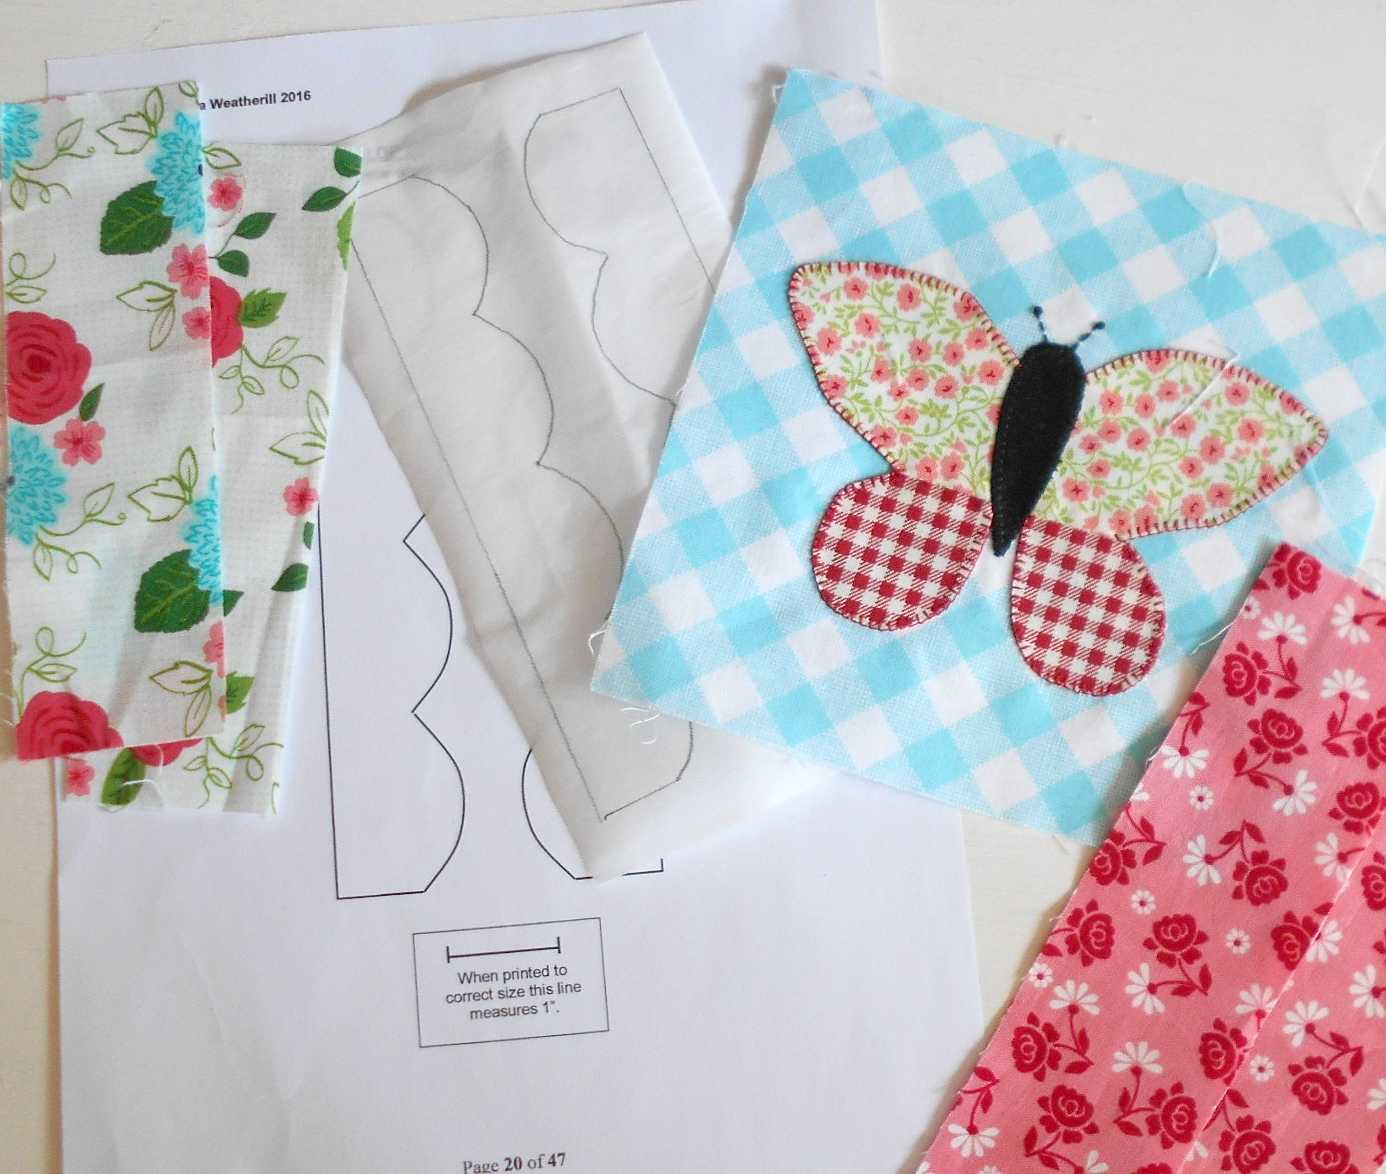
The scallop edged mug rug is quick, simple and inexpensive. You can use any 6” quilt, embroidery or patchwork block you have to hand. I used the butterfly block from my Butterfly Patch mug rug pattern which includes templates for creating a 6" butterfly block.
You will need the Scallop Sidebar pattern. This pattern is one of ten found in my One Block Mug Rug book – costing just $9.99 in PDF format - it includes seven 6" blocks to get you started.
Alternatively, you can purchase the $2.50 Patchwork Cow mug rug pattern which also details the scallop borders.
You will also need a very small amount of fusible webbing and some scraps of contrasting fabric.
 |
The start of something beautiful ....
|
When choosing the fabric for your scallops it doesn’t matter which is lighter than the other, or busier than the other. All that is required is that the fabrics contrast enough that the scallops stand out. I achieve this by laying the fabrics side-by-side; I then go make a cup of tea and when I come back I look again at my choice. I will know instantly if it works.  |
| Lay out the fabrics to see if they go together .... |
If you are using a block you have already made the putting together of this mug rug is very quick and very easy – just follow the instructions and use the full-size template included in the pattern.
First, add the sidebars to your block ……
 |
| Borders added - quickly and easily .... |
Fuse the scallops to the WRONG side of your chosen fabric ………
 |
| Scallop tracings fused to the WRONG side of fabric ... |
Cut out the tracings accurately once fused ……….
 |
| Trimmed and ready for placement ... |
And then align them with the side edges of the mug rug before fusing them in place.From there you simply stitch the scallops securely to the mug rug top – I really love the little blanket-stitch in a contrasting cotton to highlight the scallop.  |
Use any stitch you like to secure the scallop.s
|
And there you have it – the mug rug top is finished. Quilt it as simply as desired (details included in the pattern) before adding binding. Finally – find a sunny position for this functional mini quilt – some place where you will use it everyday – some place it will add that little touch of uniqueness and colour to brighten your home.Be sure to come back soon when I will be making another mug rug from my One Blocks Mug Rug pattern book.


No comments:
Post a Comment