Monday 15 December 2014

Ticker Tape Pretty

Christmas Ticker Tape Mug Rug
Everywhere there is red and green Christmassy magic.  Everybody is busy – I am busy - there’s much to do and little time to stop.    

So when it came to changing the mug rug on my nightstand, I wanted something pretty but quick to make – I only had an hour to spare.  Thank goodness for five charms squares and my Ticker Tape quilt-as-you-go pattern.
Ticker Tape prettiness.
Perfect mug rug goodness.

Sunday 7 December 2014

More Trees from Across the Pond

Patchsmith Quilted Tree
Last week I showed you how to make a Patchsmith Quilted Tree as part of the Across the Pond project for this month and I promised you some more Christmas Tree projects from around the net.  But before I do, I must ask - have you checked out Susie's wonderful Santa projects?  I am going to make one of the cutesy Santa cushions for myself.
Sew-a-Straight-Line's Santa Cushions made by Susie
But enough of me - you want to know about the Christmas Tree projects that will have you reaching for your needle-and-thread (or glue-gun).

First up how about a little bit of cross stitch? What looks difficult is really quite simple with this Nordic Christmas tree from Balades et Broderies 
Balades et Broderies Nordic Tree Pattern
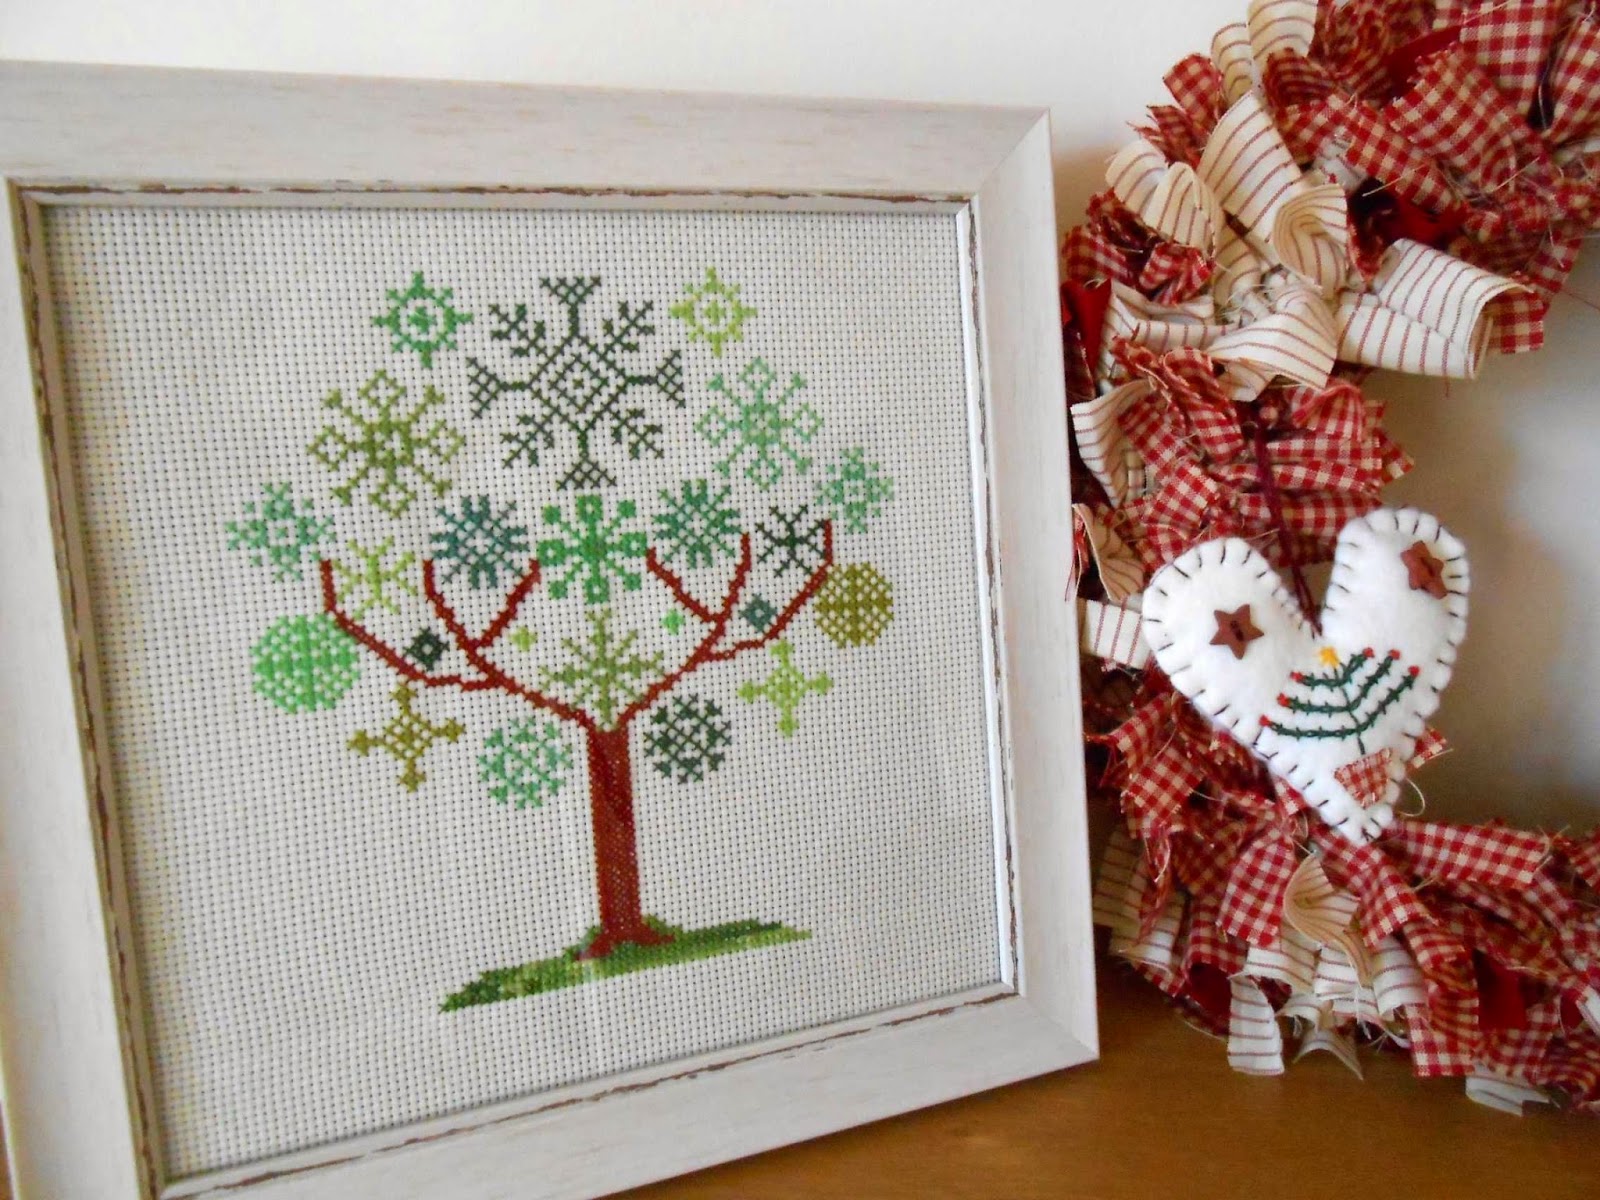
Or how about this snowflake tree from Stickeule:
Stickeule Snowflake Tree
I actually stitched this tree this month using a different shade of green thread for each snowflake:
The Patchsmith's version of the Stickeule Snowflake Tree

It you fancy something very quick and very easy look no further than Cosmo Cricket's cinnamon tree.   I think this would make a lovely gift wrap accessory instead of a bow - very country, very chic.
Cosmo Cricket's Cinnamon Tree

Or even simpler – a scrap ribbon tree from Fireflies and Mud Pies.  If you don't have a dry twig to hand you could still use a cinnamon stick:

Talking of ribbon here is an elegant ribbon tree from Star Inspirations:
Ribbon and Beads from Star Inspirations

And over at Homedit you will find felt trees that can be made as plain or fancy as you like (there are other ornaments as well):
Felt Christmas Ornaments from Homedit

I don't know about you but my buttons seem to multiply so I have more than enough to create a fabulous button topiary tree from Crafts ‘n Coffee.   No needle or thread needed - just a fistful of buttons, some glue and a polystyrene cone:
Button Tree from Crafts 'n Coffee

And finally, there is always the wonderful pleated tree tutorial from Sew Lux. This is a seriously easy tree to make yet it looks so elegant:
Pleated Tree from Sew Lux

Unless that is, you're the Patchsmith and, in true Patchsmith style you get something a little wrong.  It was my own fault ..... can you spot my mistake?
Pleat pockets full of birds and hearts

Yes, the pleats are upside down - doh!  I used quick fuse applique and didn't pay attention to the direction of the tree.  But I recovered the project by using the pleats as little pockets for a chubby bird and a few country hearts to create a folksy picture for the mantel.
An upside-down pleated tree!
However, I can't stop and chat - there are gingerbread trees to be made and eaten - like these from good 'ol Martha Stewart:
Martha Stewart's Lemon Iced Gingerbread Trees
I look forward to seeing your Christmas 'makes-and-bakes' over at the Across the Pond Flickr group.  Until then.......

Wednesday 3 December 2014

Row 4 - the complete Nordic Mini Quilt

The Patchsmith's version of the Nordic Mini Quilt
The Nordic Mini Quilt-Along has proved a lovely diversion from the busyness of this time of year.  Four small rows of patchwork pleasure which will look good all year round – not just for Christmas.

Row 4 saw us patching ‘woven’ hearts finished with a touch of appliqué.  
Row 4 - Love, love, love red gingham hearts
As you know I am a fan of quick-fuse appliqué but Crafty Quilter Julie provides a super fast way of finishing the hearts with turned appliqué.  No fiddly turning of 1/8” seams required – just simple stitching with a little bit of fusible batting.  It was very, very easy.
Four rows of fabric fun
Row 4 also brought us to the end of this Nordic quilt along.  With all four rows joined together I finished this patchwork mini with some red and grey hand quilting.  Those rustic stitches (using two strands of embroidery thread) complement the Nordic simplicity of the red-and-white design.
The rustic hand quilting distracts from my less-than-perfect piecing.
Cunning eh?
If you haven’t joined in the quilt-along I can wholeheartedly recommend it.  You will find all of the tutorials over at the Crafty Quilter
It is never too late for a Nordic Mini Quilt
I'm off to finish my very last Patchiqué block.  Sew until next time .......

Monday 1 December 2014

Quilted Trees Across the Pond


December heralds the start of the Christmas season and this year I am well prepared.  The cards are written, food is ordered and presents are wrapped – yes wrapped!

This has left me plenty of time to indulge in some sewing for December’s Across the Pond project.  Amy, Susie and I have each taken a theme and come up with some free projects for you to enjoy.  My theme is CHRISTMAS TREES and I have found some great projects for you.  

But more about those next week.  This week I would like to share my own FREE QuiltedChristmas Tree project.  So grab a cuppa and find a comfy seat as there is a lot to get through.  Ready?  

First - download the handy PDF pattern sheet HERE which comes complete with colour diagrams and easy-to-follow instructions.  
   The Patchsmith’s Quilted Tree
(finished size approx 5” x 8”)
You can make your tree from just one fabric or you can use a different fabrics for each section of the tree. I quilted my fabric using 4oz polyester batting which I then pressed with a hot iron.  This made my quilted squares nice and firm.  Oh and before I forget, all seams are ¼” and are included in the pattern template but a smidgen either way won't make a lot of difference. 

To make one tree you will need:
·         One 12” square of quilted fabric
OR three 6” x 10” quilted rectangles.  If you are quilting your fabric specifically for this project then you will only need front fabric and batting – there is no need for backing fabric as the tree is lined. 
·         One 12” square of lining fabric
·         Tree Template from the Patchsmith's PDF Pattern Sheet

1.         Using the template from the pattern sheet, cut three triangles from the quilted fabric and three triangles from lining fabric.  

2.         With rights sides together stitch one outer quilted triangle and one lining triangle together along the bottom curved edge.  Repeat to make three units.  

3.         Open out the units.  

4.         With right sides together, stitch the three units together along the long sides as shown.  (I found it easier to start stitching at the centre and stitch out towards the points.)
.
Your tree will look like this once
two units have been stitched together.

5.         Continue until all sides are stitched together but leave a 3” gap in the lining of the final seam, for turning the tree out.   
  
6.         Trim the tips of the tree taking care not to cut too close to the intersection. 

7.         Turn the tree right sides out and slip-stitch the gap closed.  
Use a chopstick to help
when turning the tree right side out.
The tree top will be slightly rounded
due to the thickness of the seams.

8.         Push the lining inside the tree so that a small rim of lining shows around the bottom edge.  
It looks like the tree has binding around the bottom doesn't it?
There you have it - one quilted tree.  You can leave it plain for a country look or decorate the tree using buttons, rick-rack or pom-poms .....
Pom-Pom Tree

But if quilted trees are not your thing come back next Sunday when I will showcase some alternative ways to have fun with trees this Christmas.  

Want to know what themes Amy and Susie have chosen for this special month?  Then you should head straight over to Susie's Sunroom for a glimpse of a very special man before popping into AmyMade That for some snowy inspiration.

Don’t forget to check out the Across the Pond Flickr group for a look at what is being made on both sides of the pond this month.

Gotta go – I have to convince that merry fella to include me on his ‘GOOD’ list this year.  Surely, oh surely I can make it onto that list for one year in my life!