Are you thinking of joining in a mug rug swap but you're new to making mug rugs and unsure if a swap is for you?
My advice is JOIN IN. You will make friends and have fun. And I am only an email away for any queries you may have.
I've also put together some hints and tips to help you on your way ................
1. If you are new to mug rugs, use a
single piece for the mug rug background whenever possible.
2. Measure twice and cut once. Good advice for all DIY projects – not just
sewing.
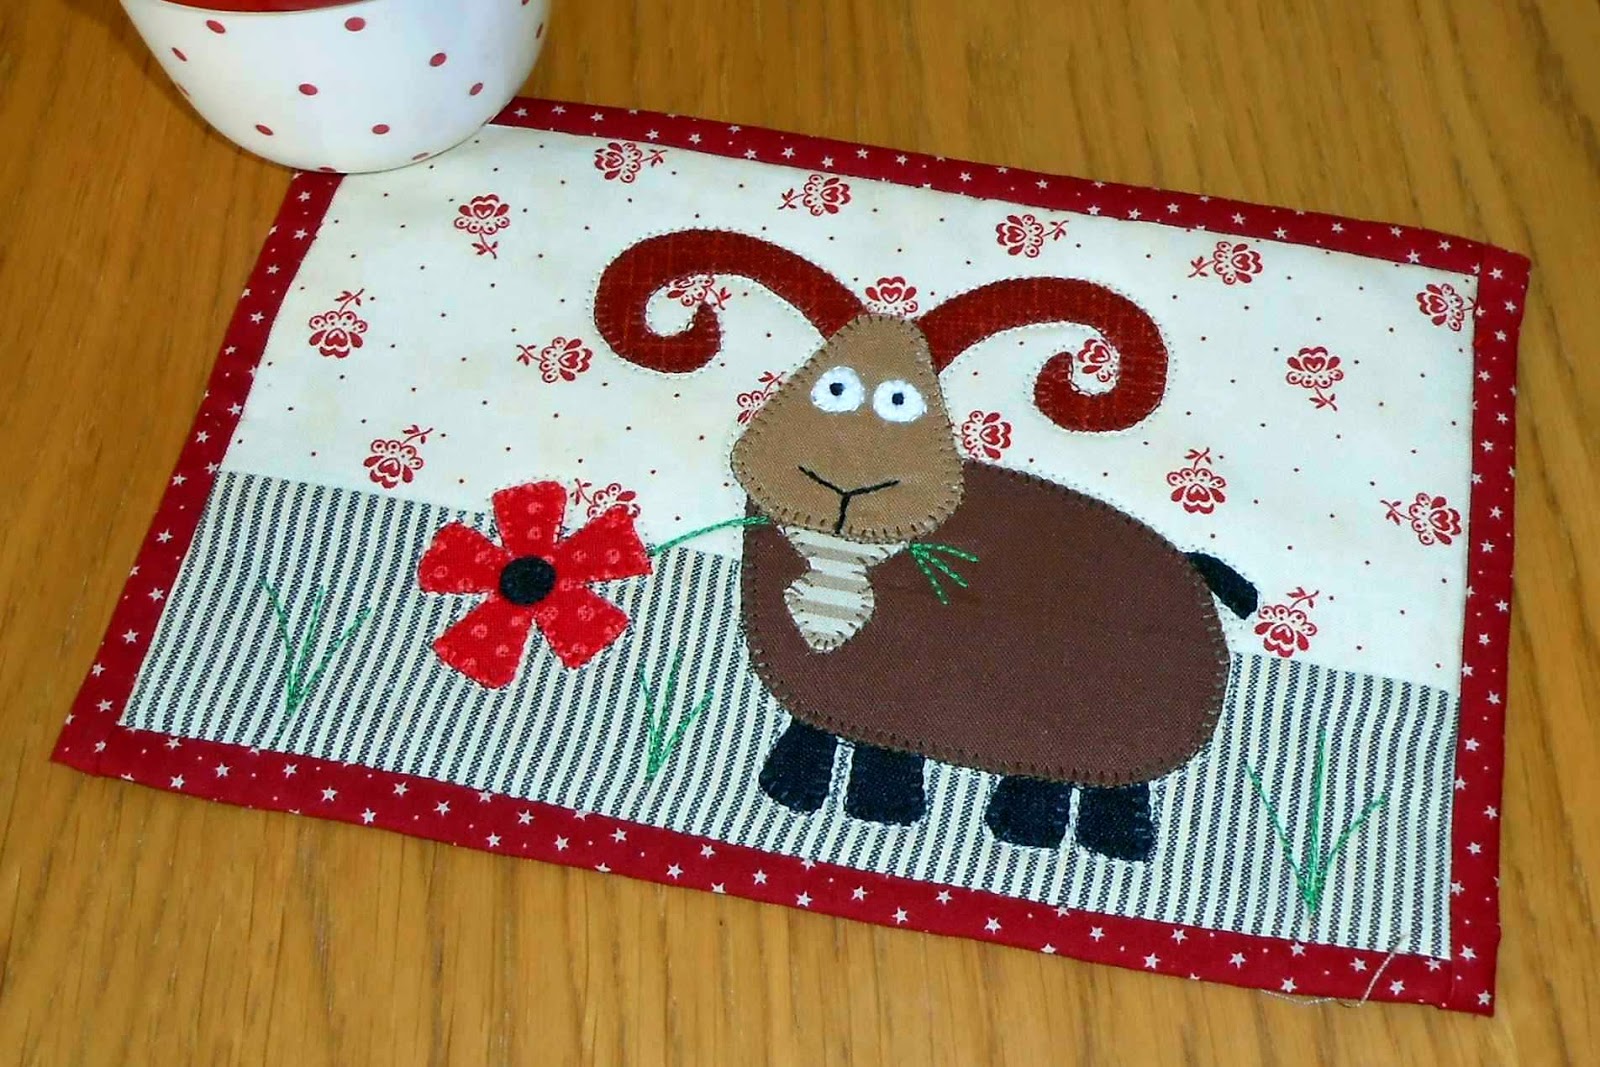
3. Use a neutral background. This will provide you with more choice when selecting
the appliqué fabrics. A mug rug always
looks good if the appliqué contrasts with the background. A neutral background provides the perfect
setting for any pattern or colour of your choosing.
4. Lay your fabric choices out and then go
away. or at the very least, turn away.
When you return to your fabrics you will be able to see whether the
pieces blend, contrast and work together.
5. Wait for the fusible webbing to go
cool completely before peeling away the backing paper.
If you have trouble removing the backing paper once it has been fused in
place, scratch it carefully with a pin until you can slip the pin between the
fabric and the paper.
6. You may find it easier to hand appliqué
your first mug rug or mini quilt unless you are really confident with your
sewing machine. You will find you have
more control over the placement of hand stitching and, if you make a mistake,
it will be easier to undo.
 |
| Hand Applique |
7. When starting out use a plain
binding. Stripes and checks require
precision when cutting so that the pattern appears straight. If in doubt choose a darker binding as this
will frame the mug rug.
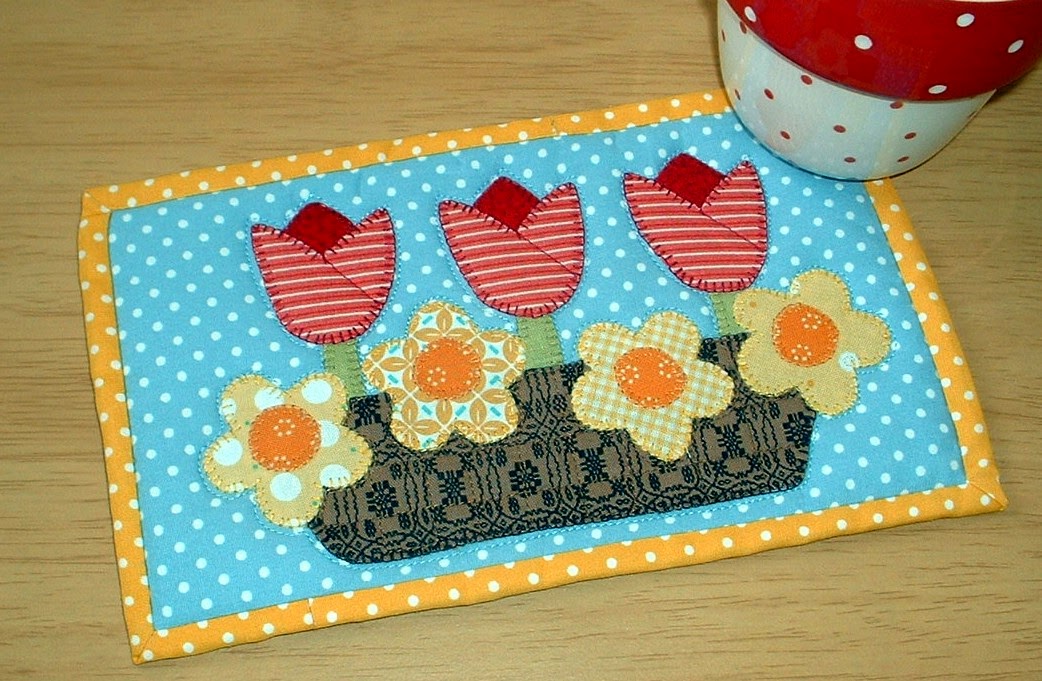
8. Less is more. Start with three or four fabrics or
colours. If you limit the fabric and colour choices
your finished mug rug will appear more cohesive.
9. Do not worry about wonky stitches or
unmatched seams. Look at the complete
mug rug and focus on what you like most about it.
10. As you become more familiar with the
techniques and process you can play with fabric and patterns.
11. Share your achievements whether through a
photo on Flickr, Pinterest or Facebook or through a mug rug swap. Be proud of your work – from your very first
stitch to the latest technique you are trying to master.
12. Have fun.
Mug rugs are primarily about producing a functional little quilt whilst
playing with fabric. The most you will
ever lose is a few small pieces of fabric and an hour or two of your time. So smile at your mistakes – after all, they
are really just learning experiences.
 |
| My first mug rug swap (warts and all!!) |
And
remember – there is always somebody to ask via Facebook or email or via a
comment on a blog. Quilters are some of
the most helpful and friendliest people I know.
Send a question out into hyperspace and you will get answers. And there is no better place to start that in the Mug Rug Basics tab above.
Sew
until next time ................


Great tips and all your mug rugs are just so cute!
ReplyDeleteI have quilted for nearly 20 years, but have never made a mug rug. Thank you for the advice and I will sign up for,the swap!
ReplyDeleteLovely mug rug examples
ReplyDeleteYour mug rugs are just irresistible!!
ReplyDeleteAnd what fun to make two and meet a new friend in the process !
Your directions are just the best, Amanda! I love using them to make projects!!
I am going to sign up over at Quilting Gallery!
Susie
Warning: these mug rugs are addictive and will stimulate the imagination and create many new friends! I love the first-one-ever so much!
ReplyDeleteYou genius you! I am so happy to participate in these. Once again they are absolutely adorable! Thanks Amanda. I have learned so much from you and I don't just mean quilting techniques. XO
ReplyDeleteExcellent tips Amanda.
ReplyDeleteThanks for the tips. I can use all the help I can get!!!
ReplyDelete