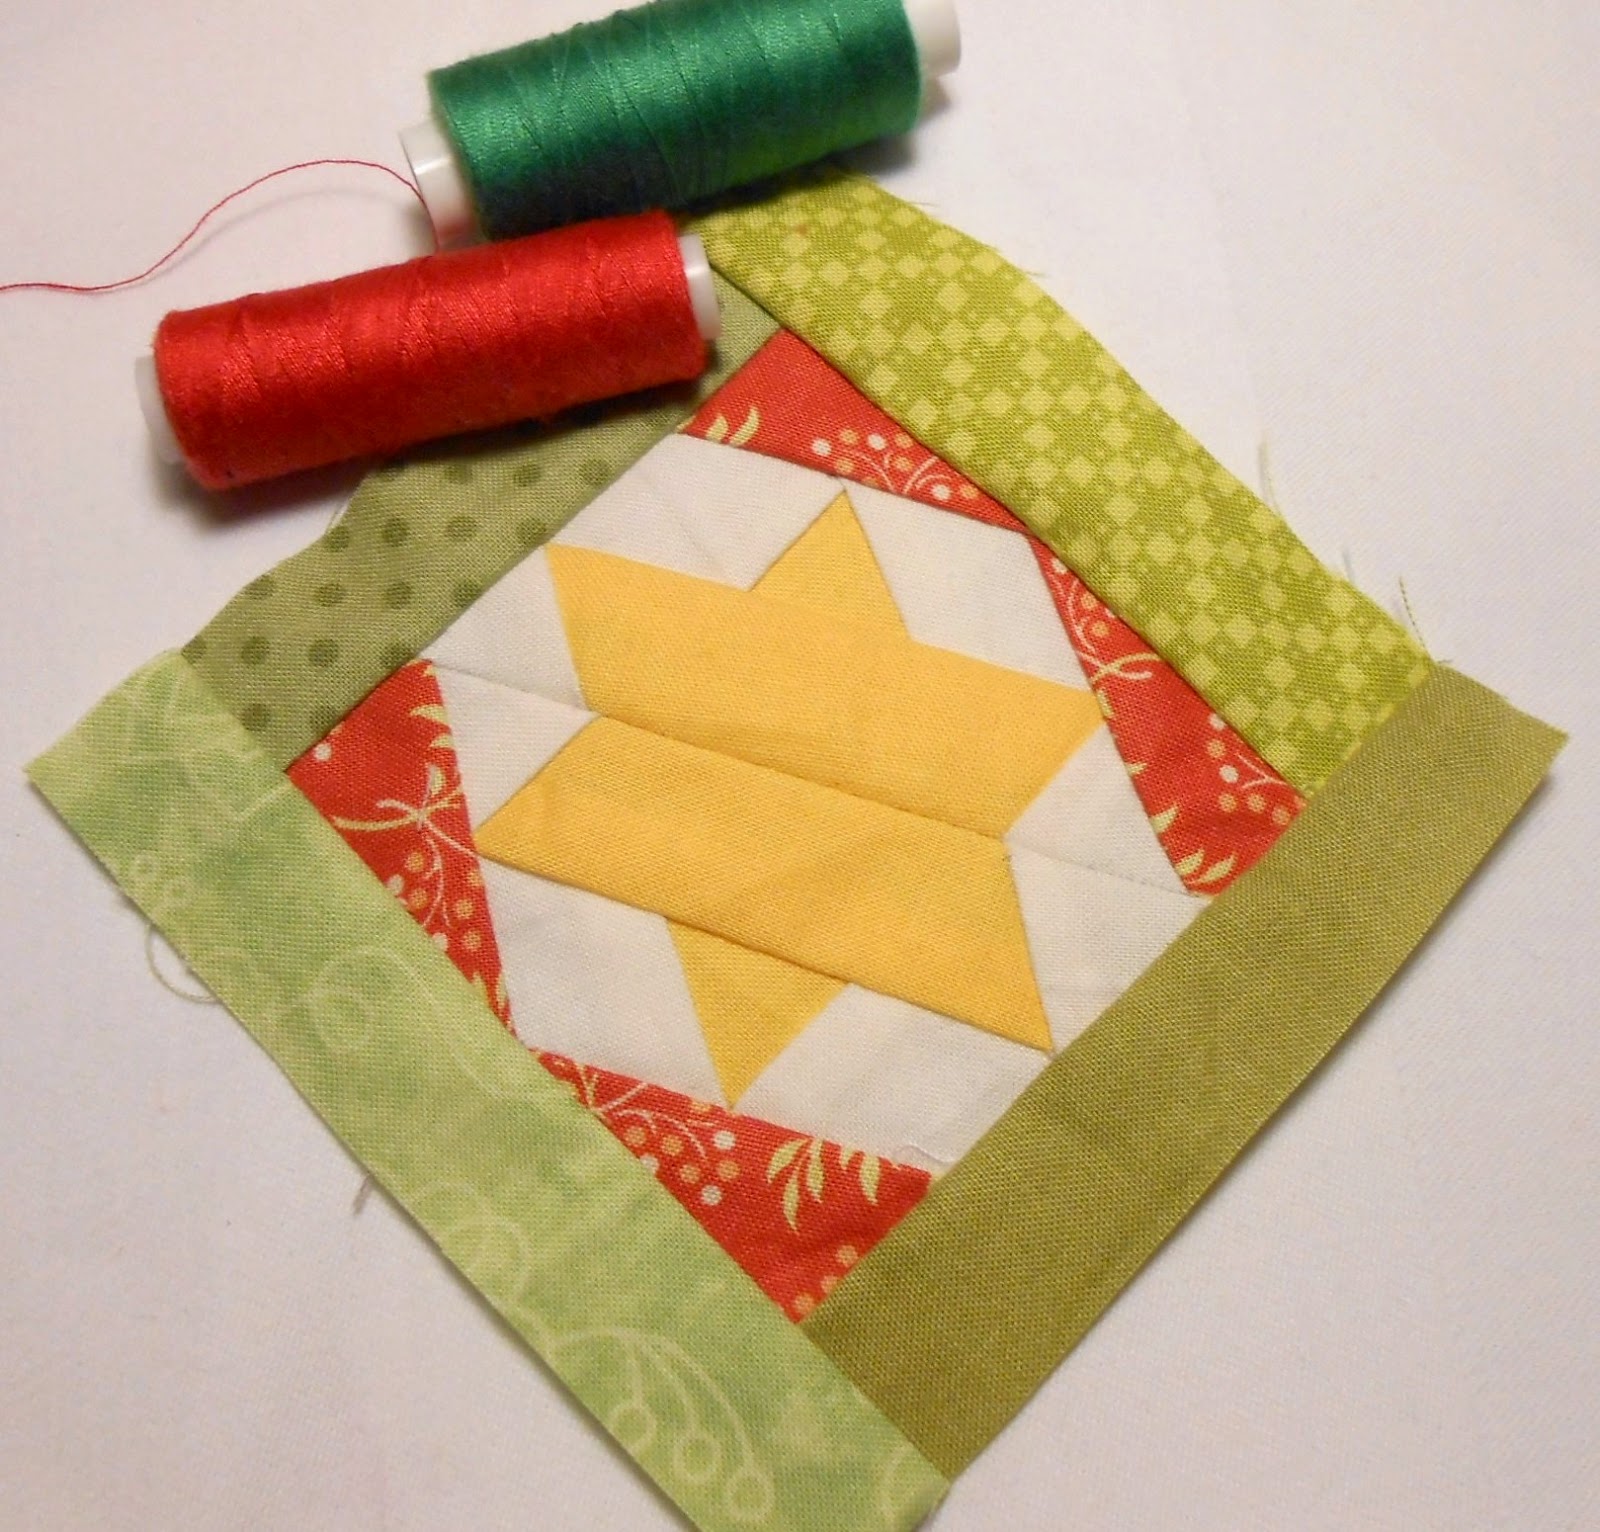
Whilst a small mug rug is a beautiful thing, sometimes a little bigger is just what is needed. With that in mind, I would like to share
with you how I enlarged my mug rug pattern using a home printer and Adobe Reader (if you
don’t have Adobe Reader you can download it for free from Adobe). Note: These instructions will not work for tablets,
phones, handhelds or touch devices due to the limitations of the Adobe Reader application.
Firstly choose your mug rug pattern - you will find a large selection in my Etsy Store. For this project I chose to enlarge my Valentine Hearts mug rug pattern in order to create a Valentine Hearts
table runner.
 |
| Valentine Hearts - large and small |
Before we start you will need to open the pattern you wish to enlarge in
Adobe Reader. Make a note of the page
number of the appliqué sheet (all Patchsmith patterns have page numbers at the
bottom). Once the pattern is open, proceed to the print screen as you normally
would (i.e. from the ‘file’ menu or using the print icon or by pressing CTRL +
P keys). This will open the print
dialogue box as shown:
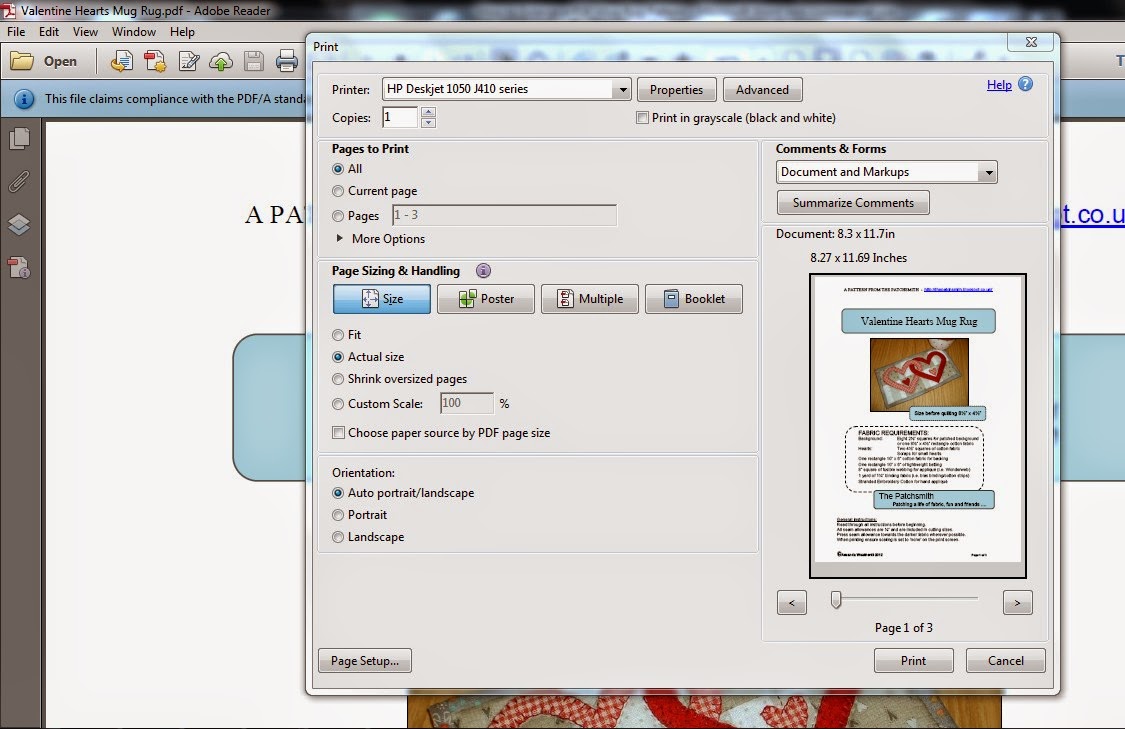 |
Adobe Reader Print Box
(if you don't see this screen then you should make sure you are using Adobe Reader - it will say 'Adobe Reader' at the top of your screen, next to the file name) |
Now
you are ready to make the following changes to the print dialogue box to
enlarge your chosen pattern sheet (descriptions for each step are provided below the
screen shot):
 |
| You can print out these instructions for a larger view of this screen shot. |
1. Firstly, you only want to enlarge the appliqué
sheet and not the complete pattern so enter the page number of the appliqué
sheet into the ‘pages’ box of the ‘Pages to Print’ section. In the case of the Valentine Hearts pattern
this is page 3.
2. Select ‘poster’ in the ‘Page Sizing and
Handling’ section. This will change the preview picture on
the right hand side. The ‘poster’ option does not enlarge the print but
positions it over multiple print pages.
3. Now comes the fun bit – ENLARGING. Enter a figure larger than 100% into the
‘Tile Scale’ box. 100% is the normal
size so if you wanted it twice as big you would enter 200 into the ‘Tile Scale’
box. (Do
this and then click on the ‘poster’ button again to see the preview picture
change. It is now showing eight pages
and the mug rug is twice as big. Change
the 200% to 150% and click on the ‘poster button’ - the number of sheets in the
preview picture has now changed to six - the mug rug is 50% bigger than the
original.) You need to decide how
big you want your pattern to be and this can require a bit of trial and error
if you are not very good at math. In the
case of the Valentine Hearts runner I enlarged to 175% which made each heart
measure approximately 7½” wide by 6¼” high.
Tip: Whenever
you enter a figure in the ‘Tile Scale’ box click on the ‘poster’ button to change
the print preview so you can see how many sheets of paper you need.
4. Make sure the ‘Cut Marks’ box is
checked as this will help when you come to stick the pages together.
5. Then press ‘Print’ – making sure you
have enough paper in your printer. You may
find some pages are blank due to size you’ve chosen and the way the appliqué page
is centred on the page – just reuse any blank sheets.
Tip: Any
print-check guide will no longer be correct as it would also have been
enlarged i.e. 150% enlargement will make 1” measure 1½”, 175% will make 1”
measure 1¾”, 200% enlargement will make 1” measure 2”, etc.
6. Stick the pages together to create an enlarged pattern sheet.
7. A VERY IMPORTANT STEP. When you go to
print another pattern your computer may remember the last print settings used so
you will need to reset your print screen so that the pattern prints to the
‘actual size’. Make sure the following
are selected when printing patterns to the correct size (i.e. not enlarged):
And if you prefer to read these instructions as you work through the steps you can download a PRINTABLE COPY just for you:
Until next time ..................