Monday, 13 June 2022

Farmhouse Stars in Circles in Squares

Stars in Circles

This week in the Farmhouse Star Quilt SAL we start to applique the stars to circles and the circles to squares - and I am so glad I am using the quick fuse applique method.

Using Lori’s interfacing method you will sew each star/circle twice (once to the interfacing and the second time affixing it to the background).  With 55 stars and 15 circles - that's a lot of sewing.   However, with quick fuse applique you only need to sew once – half the sewing and a whole lot quicker.

The Pattern is available from The Fat Quarter Shop

Firstly, I replaced the recommended Lori Holt circular rulers with items from my kitchen saving myself quite a few pennies.  

No need for circular ruler - just scurry through your kitchen cupboards

And whilst we are talking circles – I would recommend you cut the circles ½” bigger than stated in the pattern, so that you can fit the stars into them (the circles will still fit onto the background squares).  Otherwise you will struggle to get the stars to fit neatly into the circle.  


You can trace and cut three circles in one by tracing the largest circle first (in this case 12½”) then trace a middling (10½”) circle inside it and finally trace a smaller (8½”) circle inside that as shown:
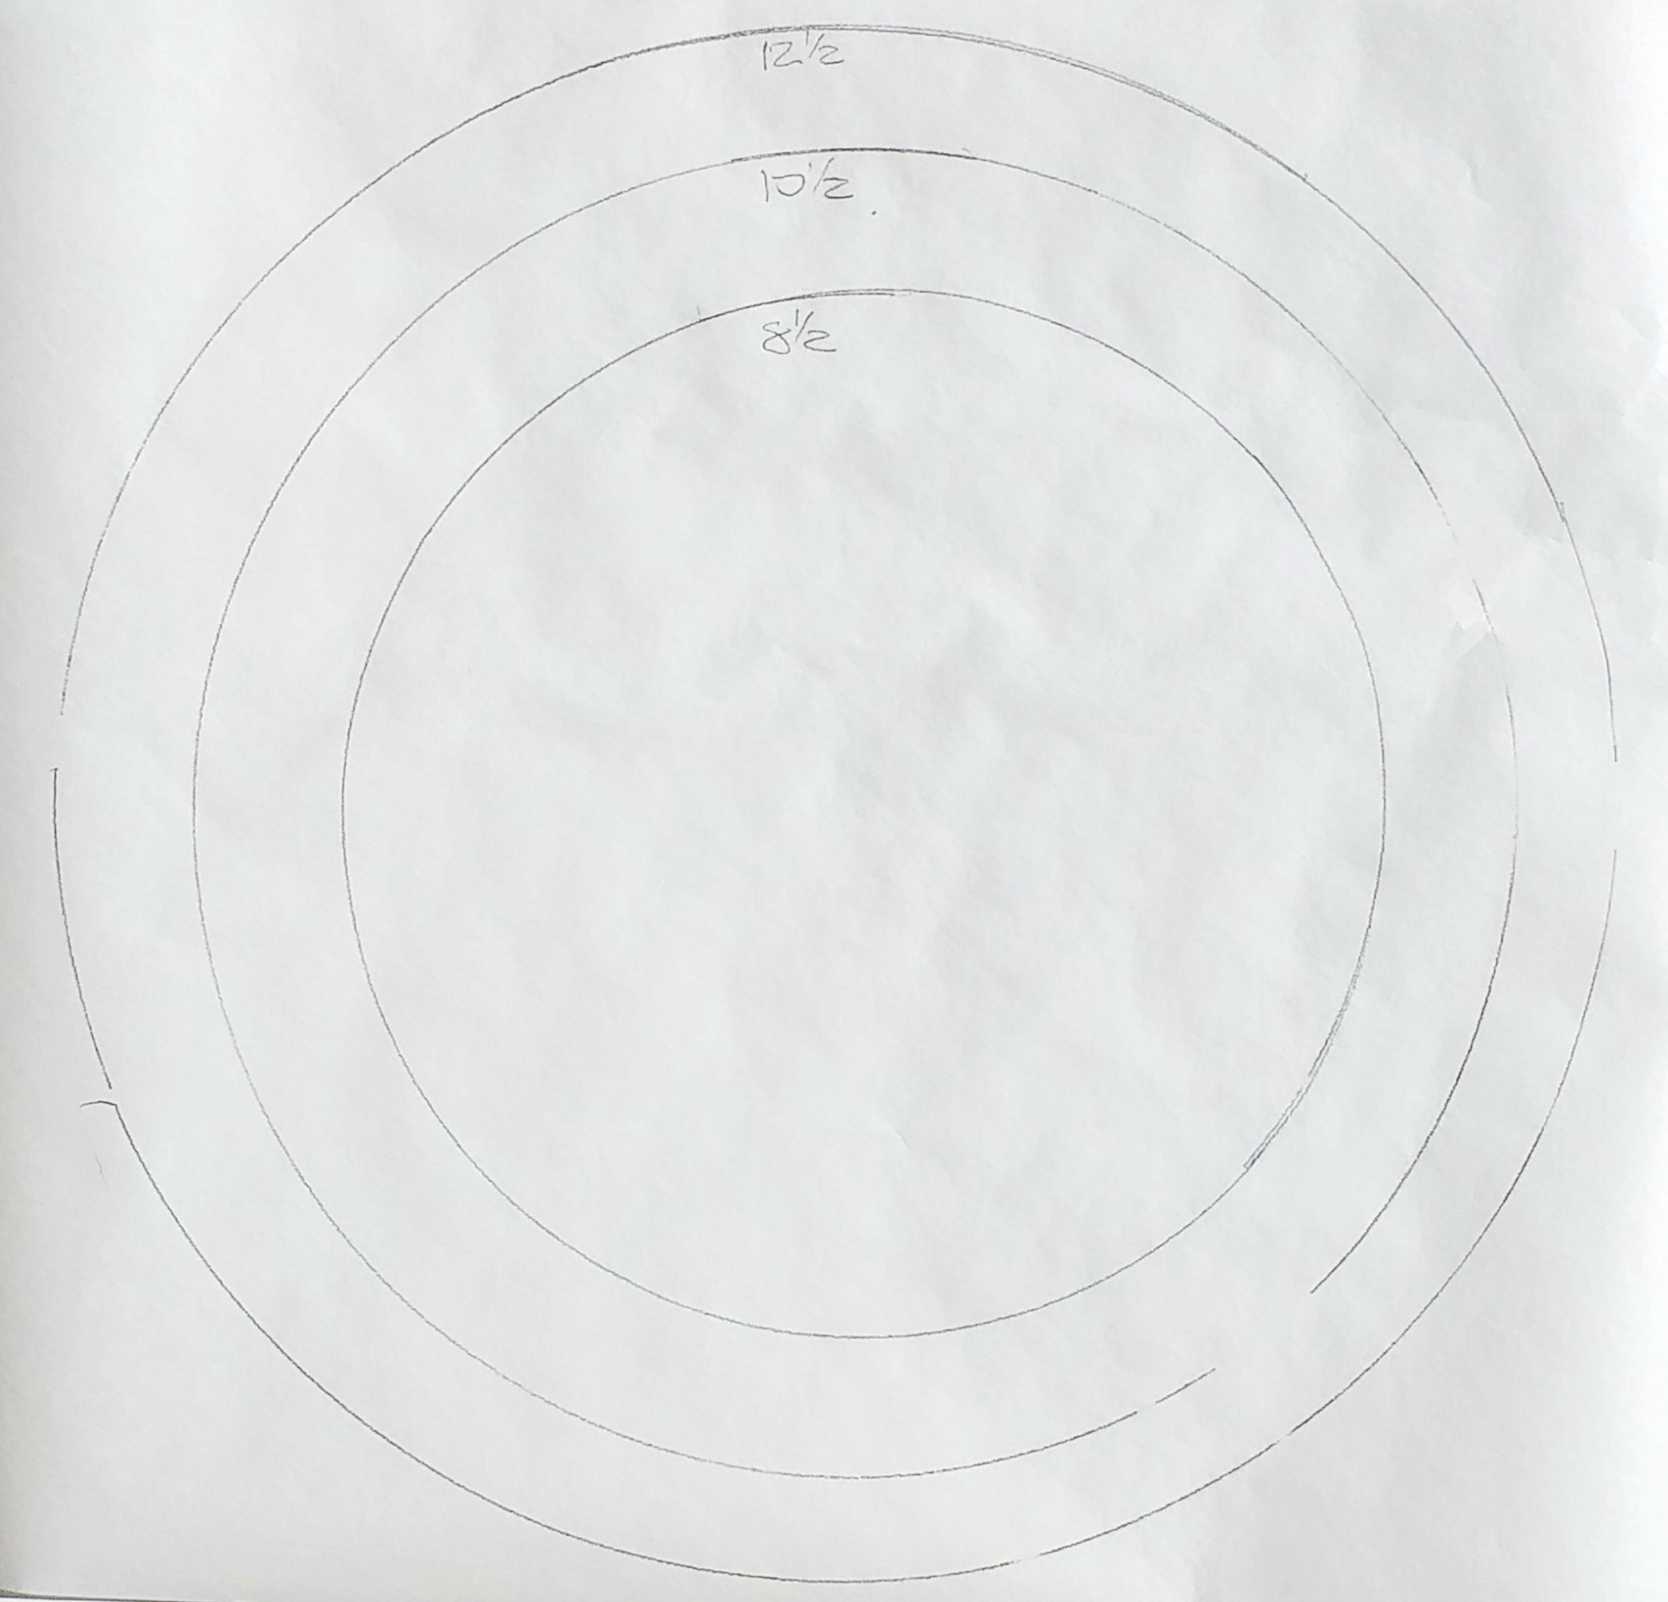
I cut all three circles ½" larger than the pattern stated

Then cut out each circle roughly (not along the traced lines) so that the circles became rings of fusible webbing, each measuring approximately 1” wide.  You will be left with a large inner circle of fusible webbing that can be used for some of the points/pentagons.

Circles become rings with a little extra in the middle

Then it is a simple case of fusing the rings to the back of your chosen fabrics .....

Three rings ready to morph into three circles

...... before cutting out each circle accurately along the traced line.

Ready for a star turn!

If following the pattern repeat this process four more times.  However, you will still need to cut two further 12½” circles but you can do so by creating a single ring of fusible webbing.  That way you can use the middle cut outs for the points and pentagons.  

A single large ring.

Next fuse the circles onto the background squares .  

A circle in a square - but where is the star?

And from thereon in it is a case of tracing and fusing the 
the stars and pentagons as detailed in the first post of this sew-along.  

Easy quick fused stars

Just remember to keep the backing paper on the pentagon until you have positioned points into place.  When I lift the paper-backed pentagon off it looks like this: 

It is looking a little messy right now ....

But all that untidiness is hidden again after I have fused the pentagon on top.

A star in a circle in a square - perfection!

Now I just need to stitch all those stars to the circles and the circles to the squares.  Until next time .....

Talking of fusible webbing – I use Bondaweb which I buy in a 30m roll via Amazon as I use a lot of it.  It is quite expensive initially but I save in the long run.  The roll I am currently using I purchased in 2017 and I still have lots left.  If you are making the quilt as detailed in the pattern I estimate you will need approximately 6m of 45cm wide fusible webbing.   


Monday, 30 May 2022

A Quick-Fuse Farmhouse Star Block

A large 16" star gets the sew-along off to a flying start.

I love stars in the sky and stars in the workroom.  So I am thrilled to be sewing along with Lori Holt in her Farmhouse Star sew-along.  

The Fat Quarter Shop have patterns in stock

Whilst Lori has her own unique method of applique I much prefer quick fuse applique (a.k.a. raw edge), which I will be using for the large star in the center of the quilt and all the stars that sit in circles.  So I thought I might share with you some tips and pointers as I sew along.

The first star of the sew-along is the most important one.

The first star of the sew along is a huge 16” star which sits in the middle of the quilt.  It is created using pieces G-16c and G-16p from Lori's Star Sew Simple shapes.  But first we need to cut our background square.

In her You Tube videoLori cut the background square larger than required as she intended to trim it once the star had been stitched in place.  However, this is not needed with quick fuse applique so, straight away we can save a little bit of work by cutting the background square to the exact size needed - 18½” square. 

Choose your background fabric carefully.
If the print is not straight it will show!

With quick fuse applique you can then trace around the templates just as they are.  However, if you add a ¼” section to the bottom of each point tracing as shown below, you will reduce the amount of sewing needed and keep the applique neat. 

A little ¼” addition will reduce the amount of sewing needed

This extra ¼” allowance will sit under the center pentagon, eliminating the need to sew the bottom edge of each point as this will be secured at the same time as you stitch the pentagon into positon.

Tip:  Once your background fabric is cut and you have traced, fused and cut your shapes out, remove the paper from the back of your points but DO NOT remove the paper from the back of the pentagon at this time.

Position the pentagon centrally onto the background square and begin to place the points, one by one, around the pentagon, slipping the extra ¼” allowance under the edges of the pentagon.  (The paper backing on the pentagon should make it easier to slide the points under the pentagon.)

Slide the bottom edge of the points under the pentagon.

You will have to fiddle a little, here and there, but eventually all five points should sit neatly under the pentagon with the corners of the pentagon meeting roughly at the intersection of two points. 

The pentagon should sit atop the star points

But do not worry if they are slightly out – it won’t be noticeable on the finished quilt and, as Lori says "it is not about perfection". 

My points are slightly out here but it won't affect the finished quilt 

Make sure the tips of the two side star points (coloured aqua and pink in my star) are at least 1” in from the side edges of  the backgound square.  The top point (the yellow point in my star) should be approximately 1½”-1¾” down from the top edge.   

When you are happy with the layout carefully lift and remove the backing paper from the pentagon before placing it back into position.  Now you can fuse the star into place.  Stitch the pentagon first so that the bottom of each point is secured. Once this is done, you can stitch around each point.

The scrappy borders here are mirrored in the borders of the quilt

And there you have it …. the first star in the Farmhouse Star sew-along.  All that is left to do is to add the border rectangles and squares as per the pattern and congratulate yourself on making a huge start to a spectacular quilt. 

Next time I shall quick fuse applique stars onto circles and circles onto the squares so be sure to check back with me really soon.   Until then …..

Friday, 20 May 2022

The Queen's Platinum Jubilee Mug Rug

Platinum Jubilee Mug Rug

I love to bring the seasons and celebratory days into my home using small quilted items especially mug rugs.  (What is a mug rug?)

Here in England we have a very special celebration coming up - the Queen's Platinum Jubilee celebrating the extraordinary achievement of Queen Elizabeth II to serve the people of Britain for seventy years. 

If time is short, quilt and bind a block to add a touch of British charm.

And I want something particularly special to mark the occasion.  So I have created a Platinum Jubilee mug rug using the 6" Union Jack block from my Union Jack Blocks and Table Runner pattern.  

6" and 12" Union Jack Blocks and a Table Runner
in one handy pattern

If you want to do the same this is how ......

Firstly you will need to patch a 6" Union Jack block.  Alternatively, you could use any 6" block (finished size) that has a British theme.

It doesn't have to be red, white and blue.

Next, you will need to download and print the 

PLATINUM JUBILEE MUG RUG SIDEBAR PATTERN.  

Make sure you print the template sheet to the 'exact size' using the size check box on the template page.  (I also have a page on downloading and printing patterns.)

Add some jewels if you want a pop of colour

Then follow the pattern to applique the crown onto the sidebar.  You can add jewels to the crown as I have down in the red, white and blue version above - or you can leave the crown unadorned as shown in the pretty pink version below.

No jewels for this crown!

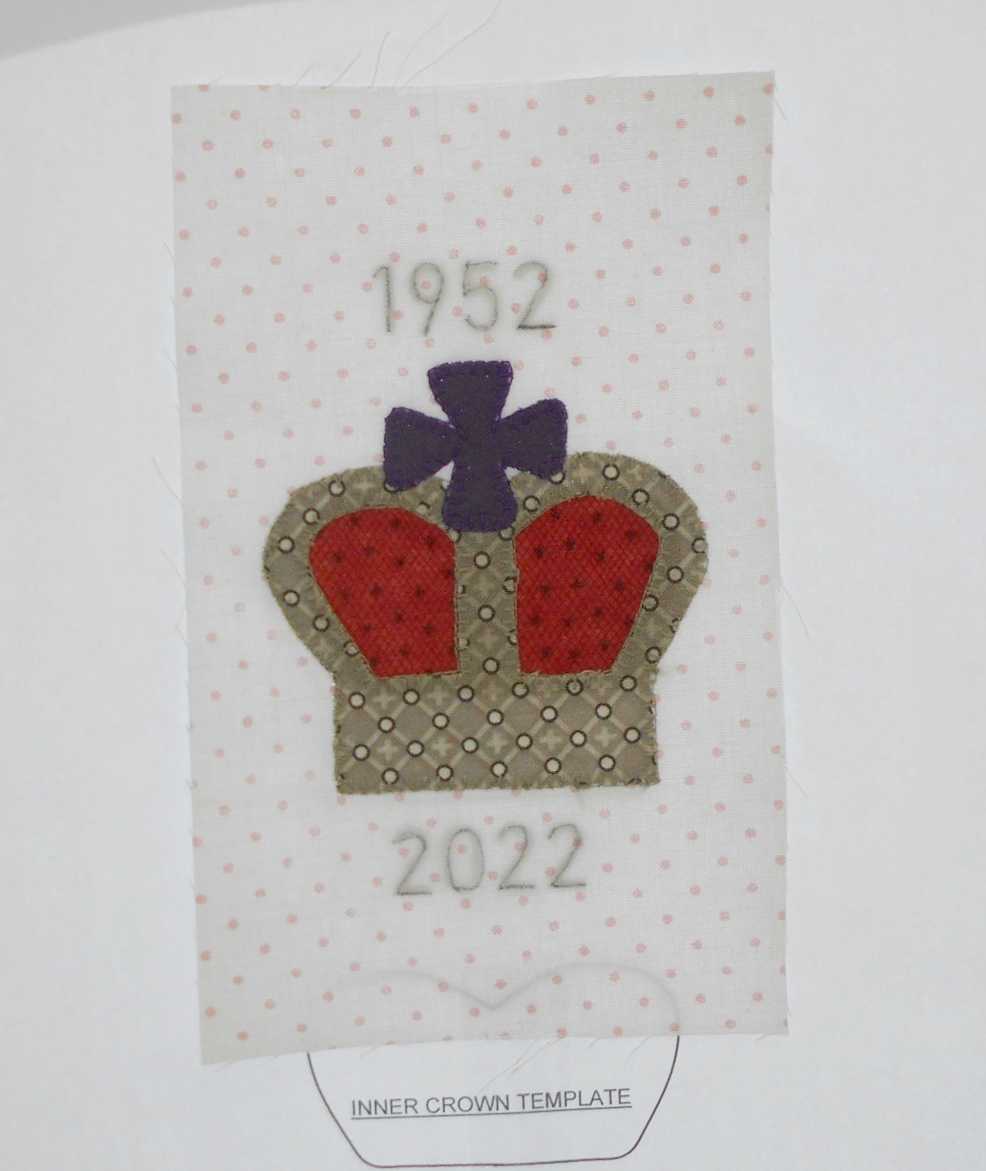
And you could leave it there - finishing off the mug rug as detailed in the Sidebar Pattern.  However, if you wish to make the mug rug commemorative you might want to add the dates to the sidebar.

To do this you will need to mark the dates onto the sidebar.  You can use a lightbox if you have one or you can do as I have done, and use a window and some sticky tape.   Here is how:

Tape the applique template to a window

Once the applique is complete tape the template page to a window before taping the appliqued sidebar on top of the paper, aligning the appliqued crown with the crown on the paper.  (Do not worry if the applique is a little out - you just need to be able to see the dates, so adjust the sidebar position if necessary.)

Tape the appliqued Crown Sidebar on top of the sheet

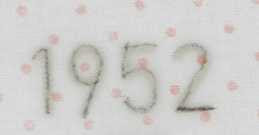
Next use a dispersible marker pen or pencil to trace over the dates.  I use a Frixion pen as the markings disappear when you iron over them.  These are readily available from supermarkets here in England but you can also purchase them from Amazon.   Alternatively you can use chalk paper.

These Frixion pen marks will disappear with a hot iron

Carefully detach the sidebar from the template sheet and you are ready to stitch over the date tracings.  I used two strands of embroidery floss and a small chain stitch on the red, white and blue mug rug and a simple backstitch on the pretty pink mug rug.

Pretty in Pink

Finally, finish off the mug rug according to the sidebar pattern.

There you have it - a little bit of nostalgia and a whole lot of fabric fun.  Until next time ....