Sometimes
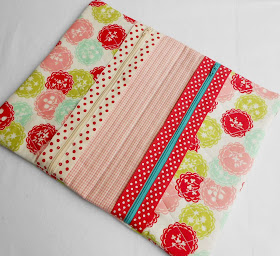
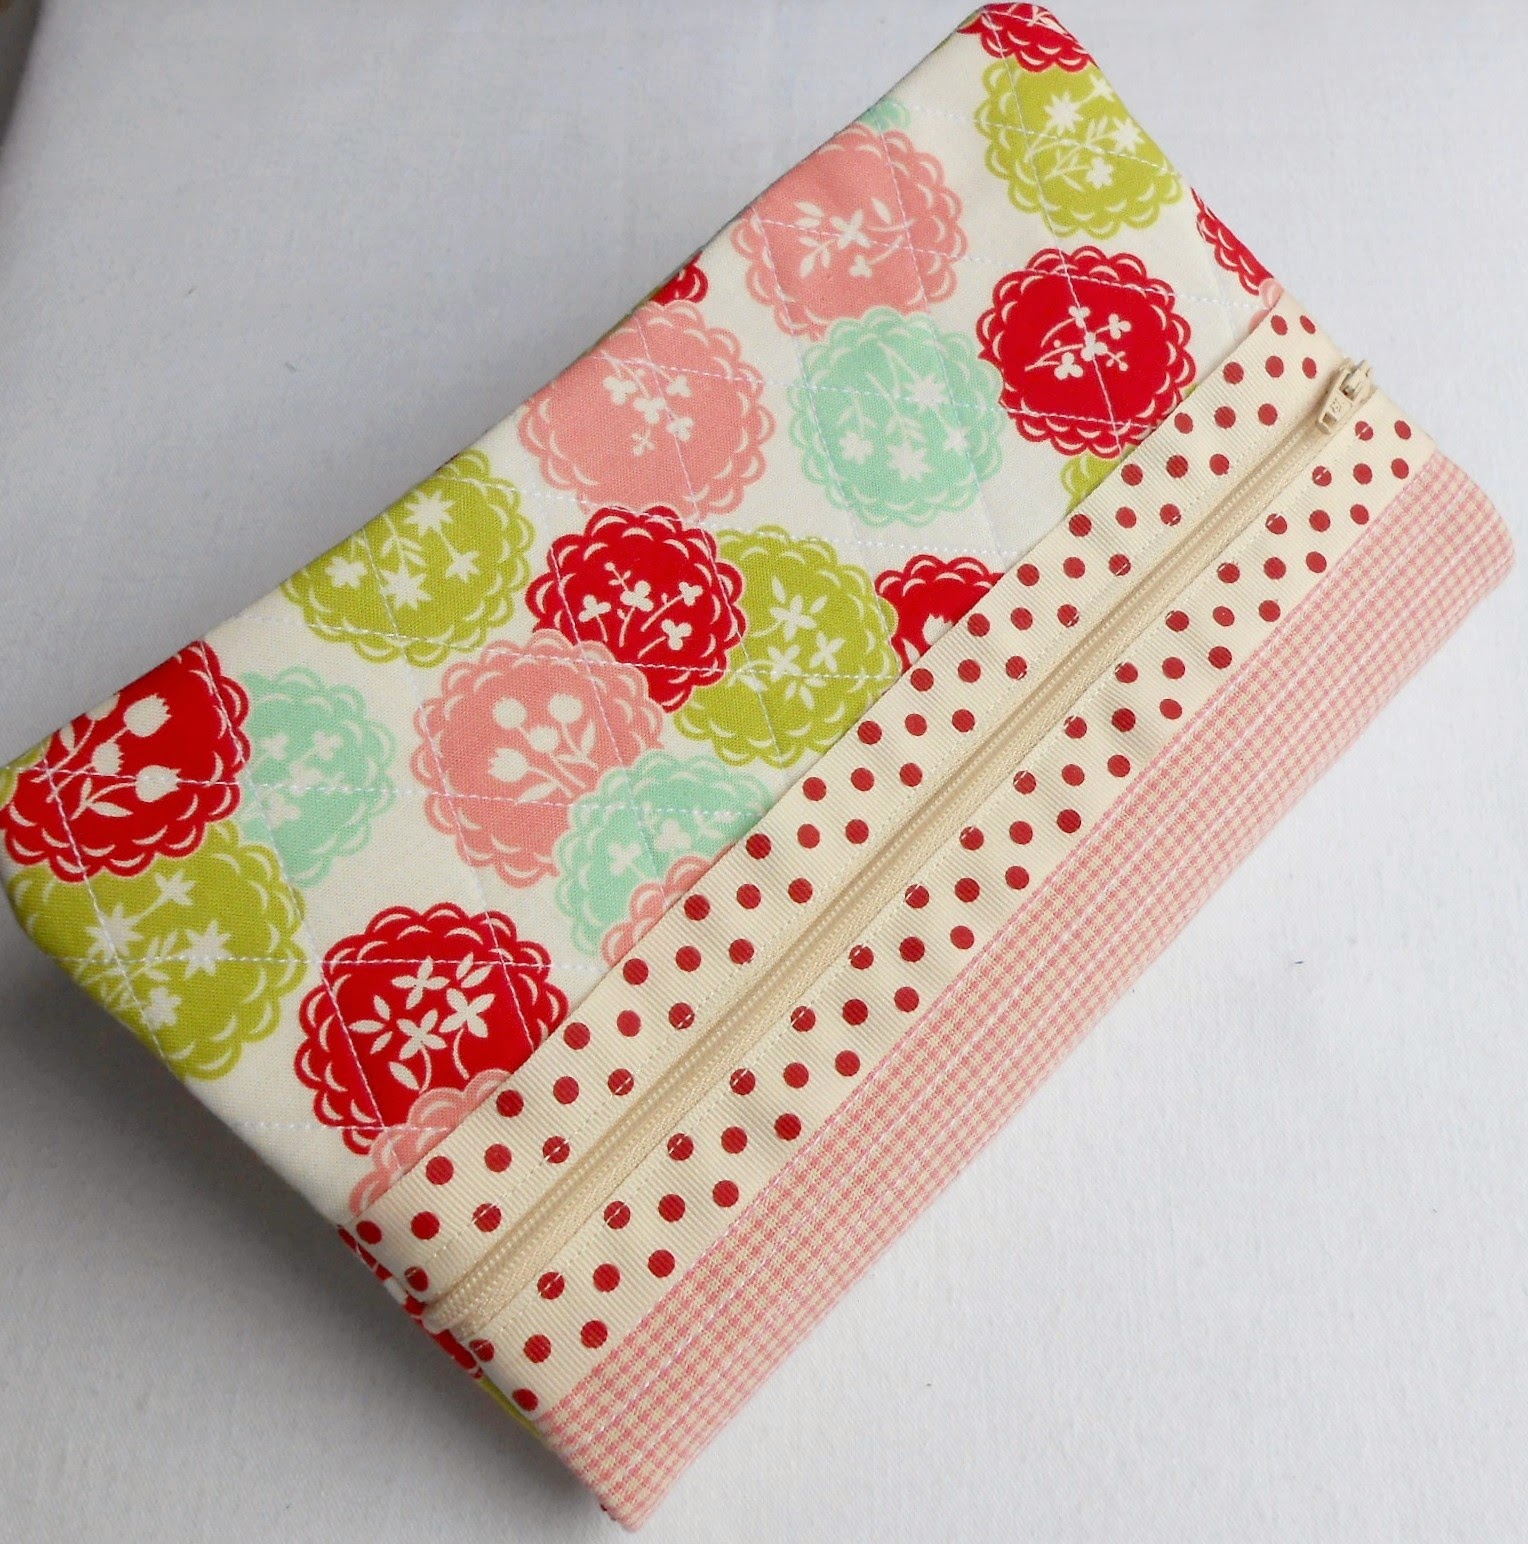
a pattern comes along just at the right time and so it was with Amy’s Double Exposure Zippered Pouch – I had a morning free and wanted some fabric fun.
You most probably know already that Amy is my American sister. As such it is my sisterly duty to try out any pattern she creates. So, with much regret (cough-um-splutter) I passed on the housework in favour of being a dutiful sister and I set about choosing fabrics and ribbon.
Now I am a mini
quilt, mug-rug maker – inexperienced in zips, pouches and bags. In fact I am something of a zippaphobe (yes, that is an actual word as I made it up to cover the fact that there isn't an actual technical term for somebody who is afraid of zips .... and remember, you heard it here first.)
But I wasn’t daunted for two very good reasons. Firstly,
I have come across Amy’s patterns before – her Anita tote pattern was the first pattern in our Across the Pond Sew Along.
It was this pattern that
introduced me to Amy’s tutorial pattern style.
With lots of pictures and clear instructions the tutorial style is
perfect when you are lacking experience and facing new techniques.
And secondly,
Amy taught me how to sew a zip in the back of a cushion that is really easy yet
looks professional.
Therefore, the double zippered pouch seemed like a fun project especially as fabric and ribbon was
involved. And I wasn’t mistaken. Things I particularly liked about this project:
1. Quilting of the fabric – you do it
before sewing it all together. Quilting
is so easy when you are dealing with flat rectangles of fabric and
batting. (You don’t have to quilt the
fabric if you don’t want!)
2. Adding the zips - this was simple as
the zips lie on top of the fabric and not between the seams. You don’t even need a zipper foot.
3. Ribbon.
Who doesn’t like to play with ribbon?
In fact I couldn’t make up my mind – I got it down to two polka dot
ribbons but couldn’t decide between them - so I used them both.
4. The opportunity to play with fabric, pattern
and trim. This makes it the perfect
make-do project as you can use whatever you have to hand. Which is a good thing because I got home from the zip shop to find I had purchased one ordinary cream zip and one cream dress zip. What to do? But the answer was in the pattern - Amy suggested using two different colour zips. Replacing a cream zip with a turquoise one adds to the project and nobody will
ever know I made a mistake (ssshhhhh, don’t tell).
My
only complaint ...... this project didn’t take more than an hour which meant there was plenty of time left-over for HOUSEWORK (yuk,
cough, splutter, urgh!).

